01 / Guide
Choose a photo with light to explore
Tap Choose a photo in Toned and select an image from Photos. A scene with both bright areas and open shadows makes it easier to judge how film and paper change the picture.
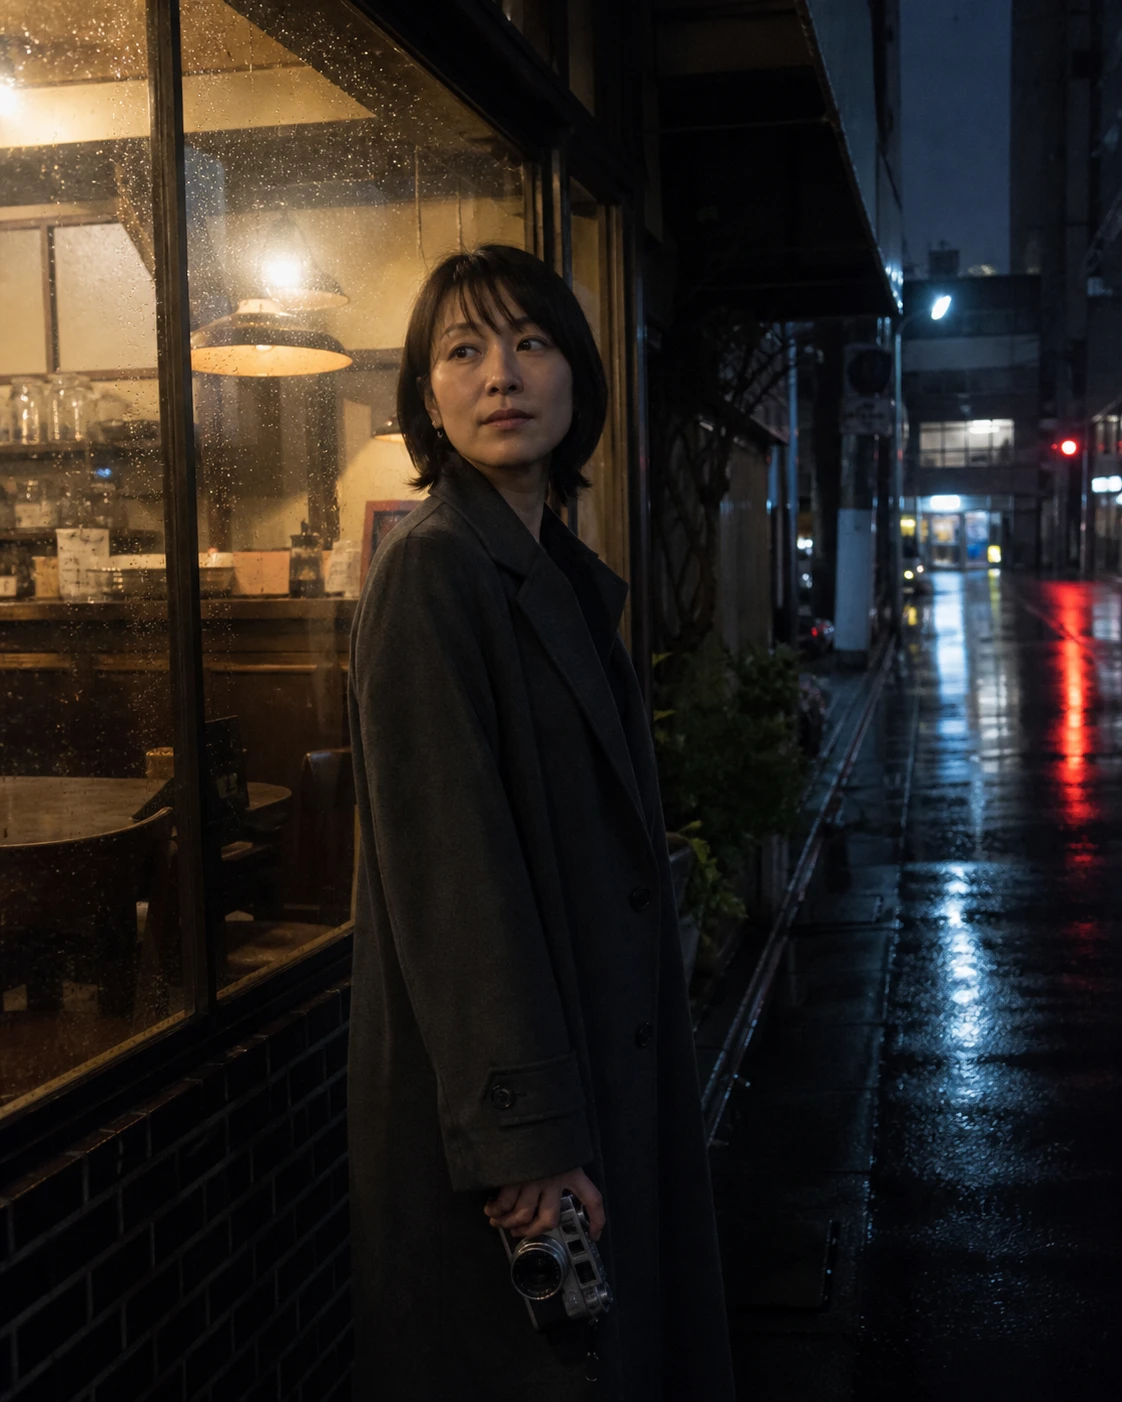
The After the rain example below places warm window light beside cool evening shadows. Pick the relationship you want to keep in your own photo before changing controls. If the original is still in iCloud, download it in Photos first.
02 / Guide
Choose a stock in Film
Open Film and compare the stock previews on your photograph. Choose a stock, then adjust the exposure onto the film. Keep the subject and framing steady while comparing choices.
Film gives you the starting response to light and color. Some stocks and formats require Toned Plus for export; begin with the free selections if you want to finish without purchasing.
03 / Guide
Develop the negative
Move to Develop and try a small Push and pull adjustment. Black-and-white stocks offer developer choices; the available processing controls depend on the stock.
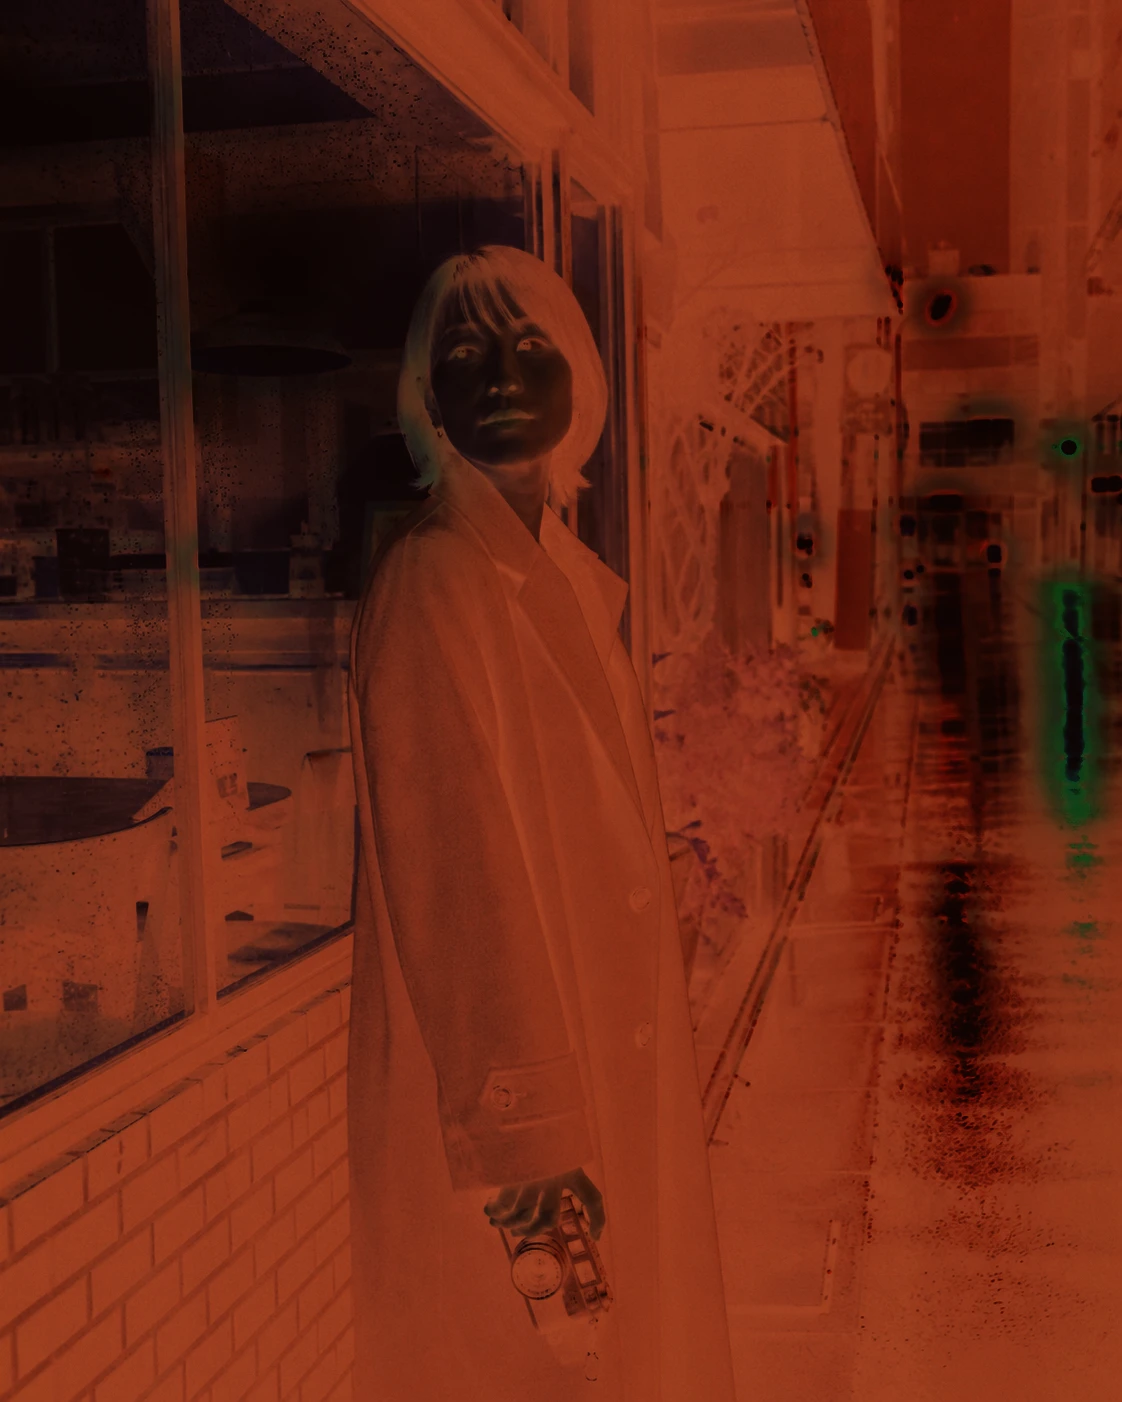
Compare the Scene and Negative views to understand where the tone is changing. A negative is an intermediate view: follow it through to a paper print before deciding whether the treatment suits your photograph.
04 / Guide
Find the print with paper and a test strip
Open Print, choose a paper, and adjust Print exposure. Use Test strip to compare exposure choices, then inspect the finished print at a useful size.
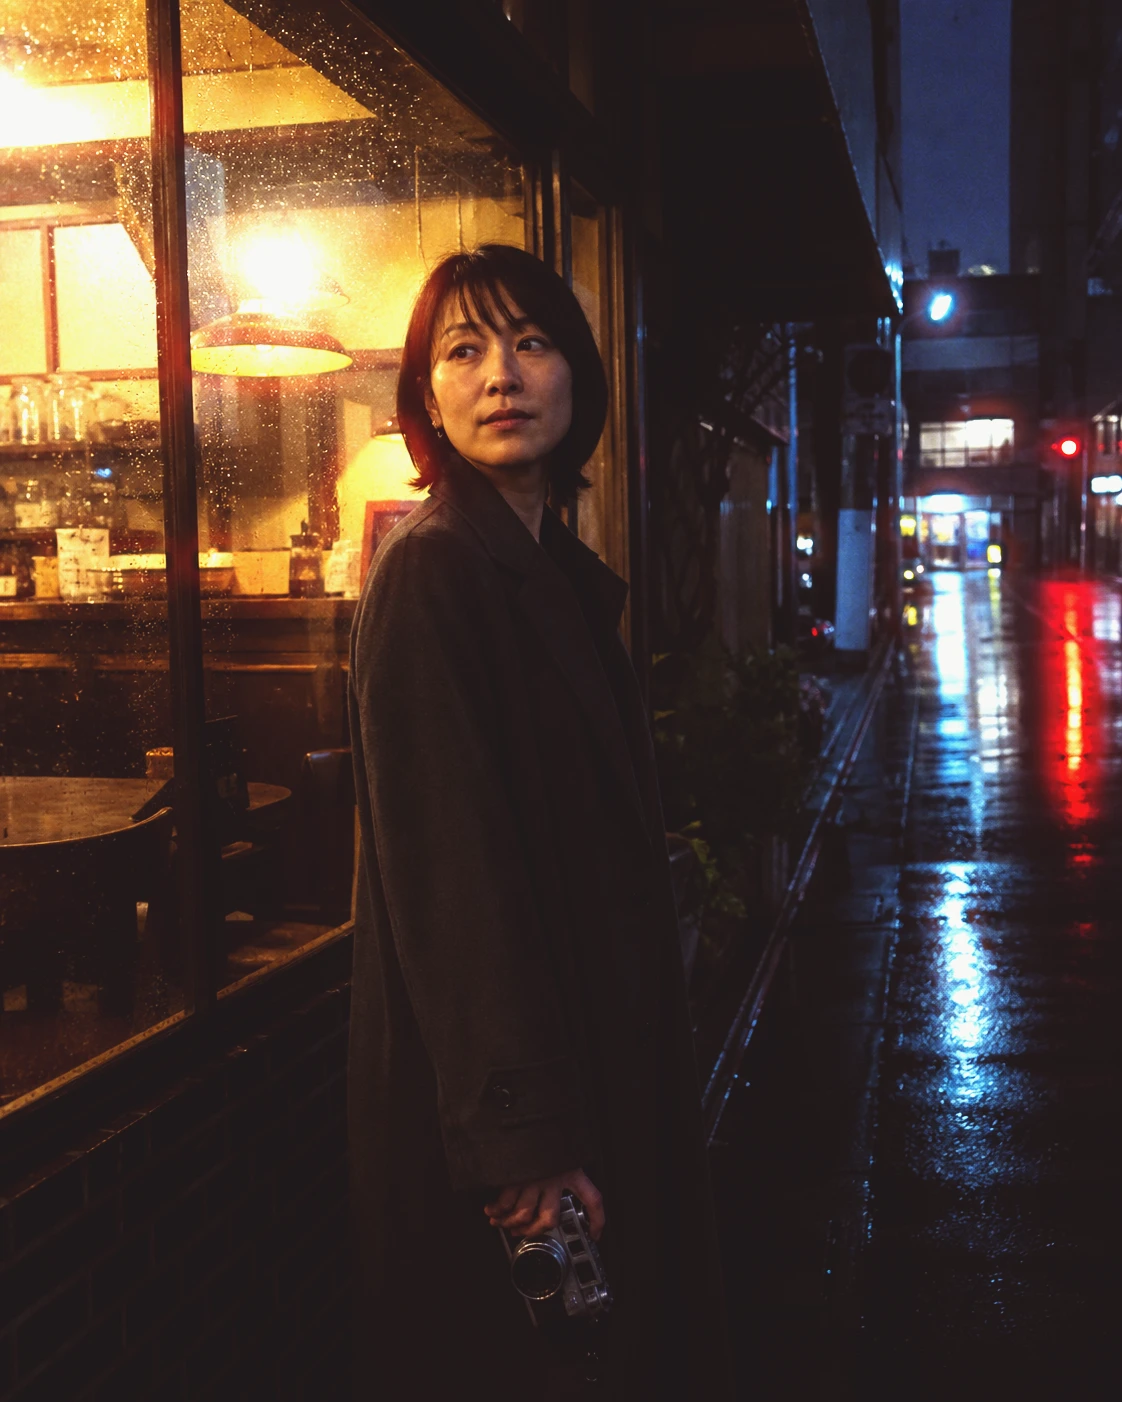
In this example, the warm window remains the focal point while the darker street holds the evening mood. On your own picture, check the brightest details and the darkest areas before adding more finishing choices.
05 / Guide
Export the print or show the process
Open Export and choose Print for a JPEG of the finished image. Negative also exports as JPEG; Film strip and Contact sheet use PNG. Contact sheet compares the current photo across film stocks. Clip makes an MP4 showing the scene-to-negative-to-print sequence.
The export rows save to Photos. Share opens the system sharing options for the selected output. Free exports carry a Toned mark and reach up to 3000 pixels on the long edge; Plus removes the mark and free size cap, subject to the available source resolution.
Toned Plus is a one-time purchase. It also unlocks the full collections and advanced controls; Pressed and InkWaltz purchases are separate.
Put it in perspective
After the rain
Warm window light, cool evening shadows, and a photographic print after the rain.
Explore the study