01 / Guide
Choose the right kind of export
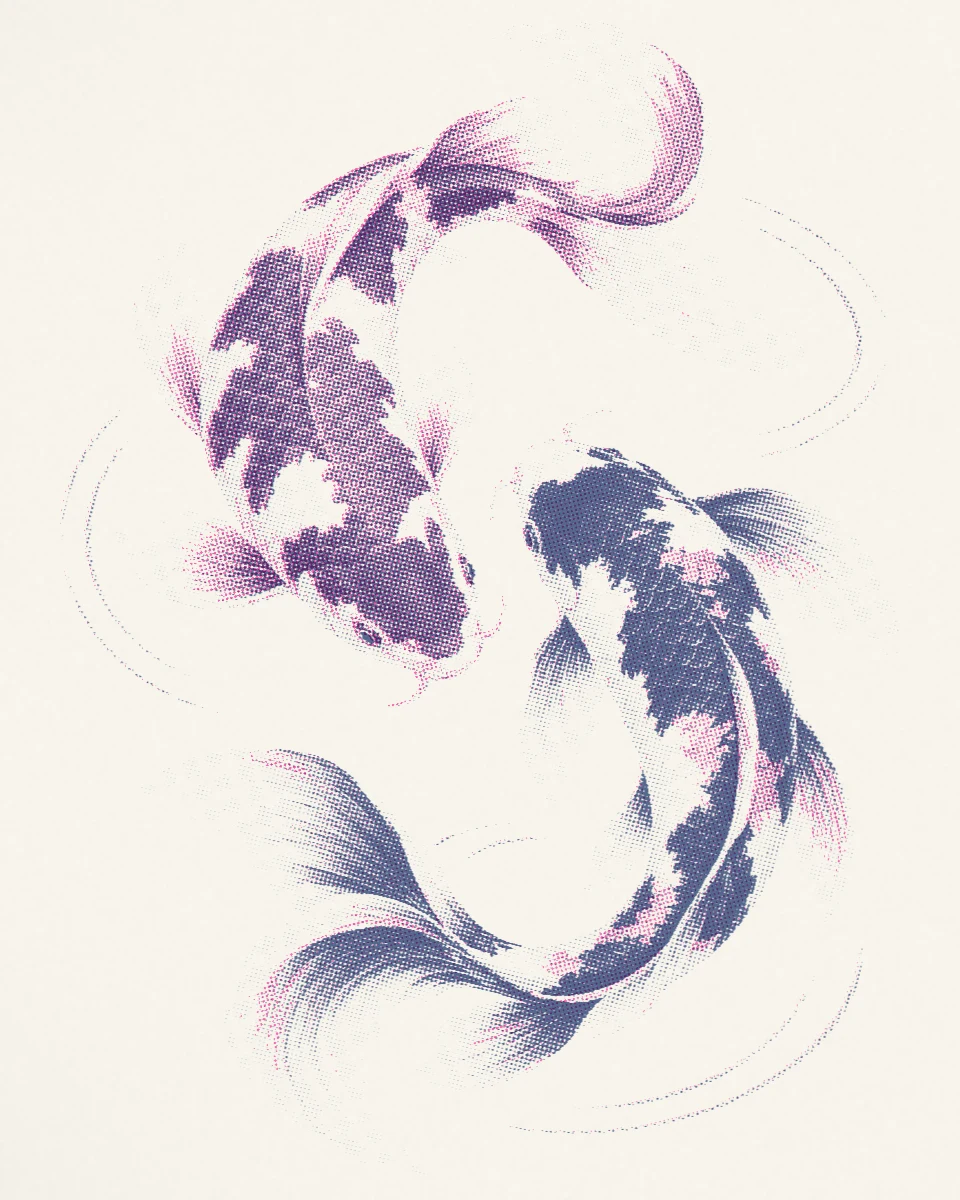
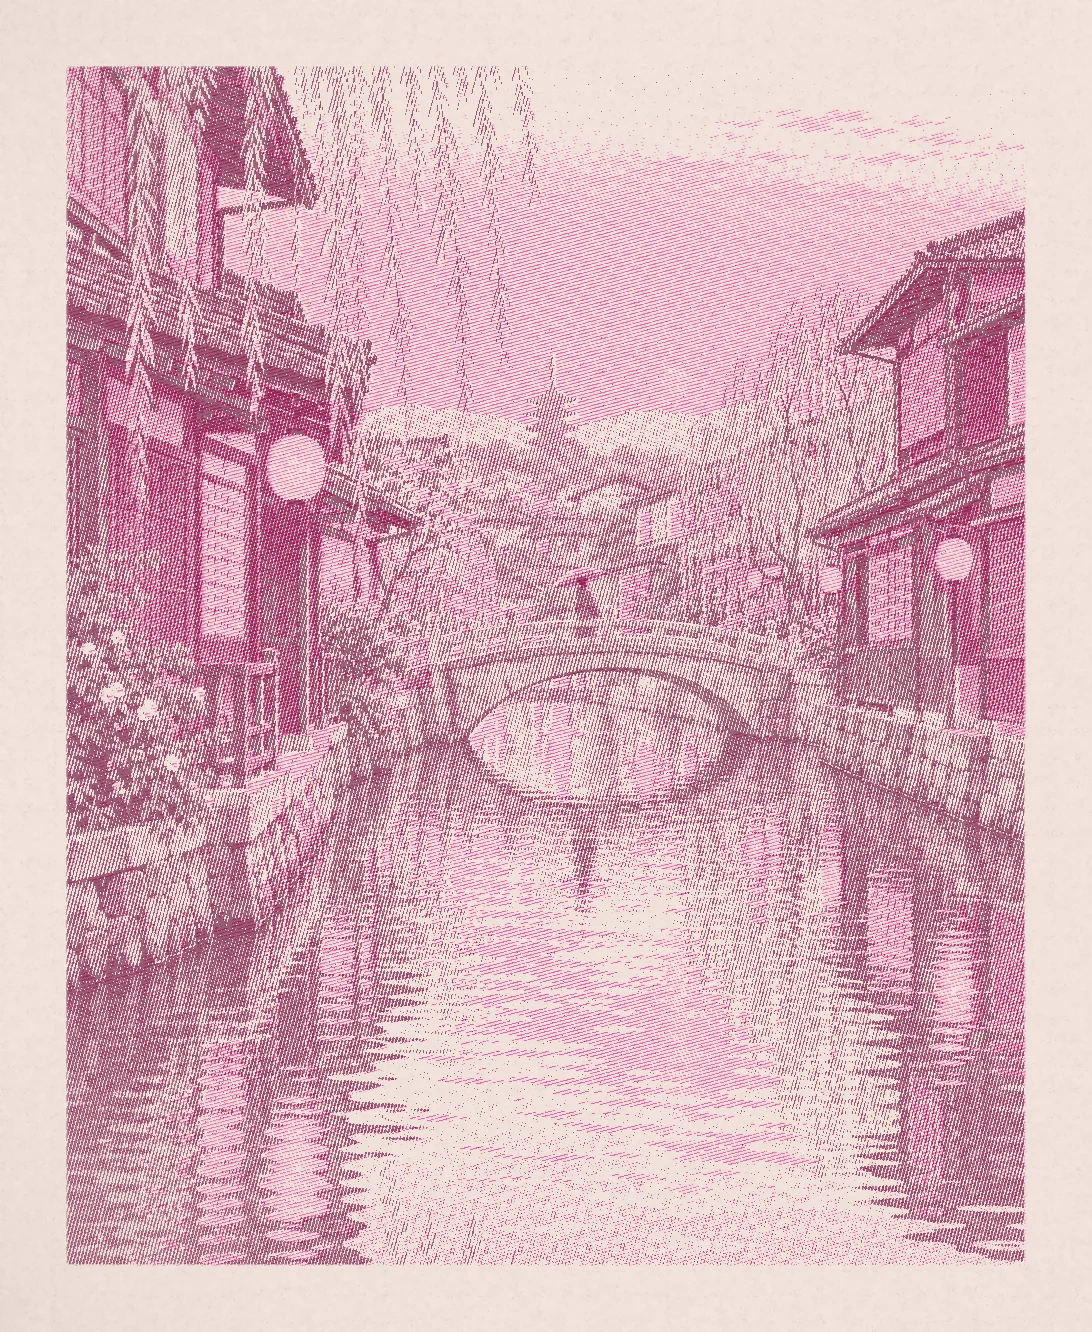
A JPEG or PNG combines the ink colors and paper appearance into one finished picture. It is useful for sharing or placing artwork into a layout. A separation PDF instead gives the printer an individual grayscale page for each ink.
The gray values describe that ink’s coverage; they do not mean the final piece must be printed in black. The ink name identifies the color for that pass. The paper appearance in your preview also needs to be considered separately when choosing physical stock.
02 / Guide
Finish the artwork before separating it
This example uses the included Harbor preset: Crimson and Blue on Cream paper. Compare the original music illustration with the finished print, then look at the two grayscale pages in the next step.
Set your crop, ink choices, screen, and framing before exporting. Keep a composite image as a visual reference when discussing the result with your printer. Harbor and PDF separation export require Pressed Plus.


Jazz composition / Print
The palette
- Crimson
- Blue
- Inks
- 2
- Paper
- Cream
- Mark
- Round
- Separation
- Color
Screen angles: Crimson 15°, Blue 75°.
Harbor recipe & examples03 / Guide
Export and inspect every ink page
In Pressed, open the Export menu and choose Separations (PDF). After the file is prepared, use Share PDF to save it in Files or send it to the destination you choose.
The sample below contains two pages: Crimson at 15° and Blue at 75°. Both have the same page size, fixed crop marks, and registration crosses. Open the PDF itself to inspect the marks and labels at full size.
This compact sample contains 960 × 1200 pixel ink plates at 300 dpi: 3.2 × 4 inches of artwork, plus the surrounding marks and margins. It illustrates the output format; it is not an A4 or A3 sheet layout.
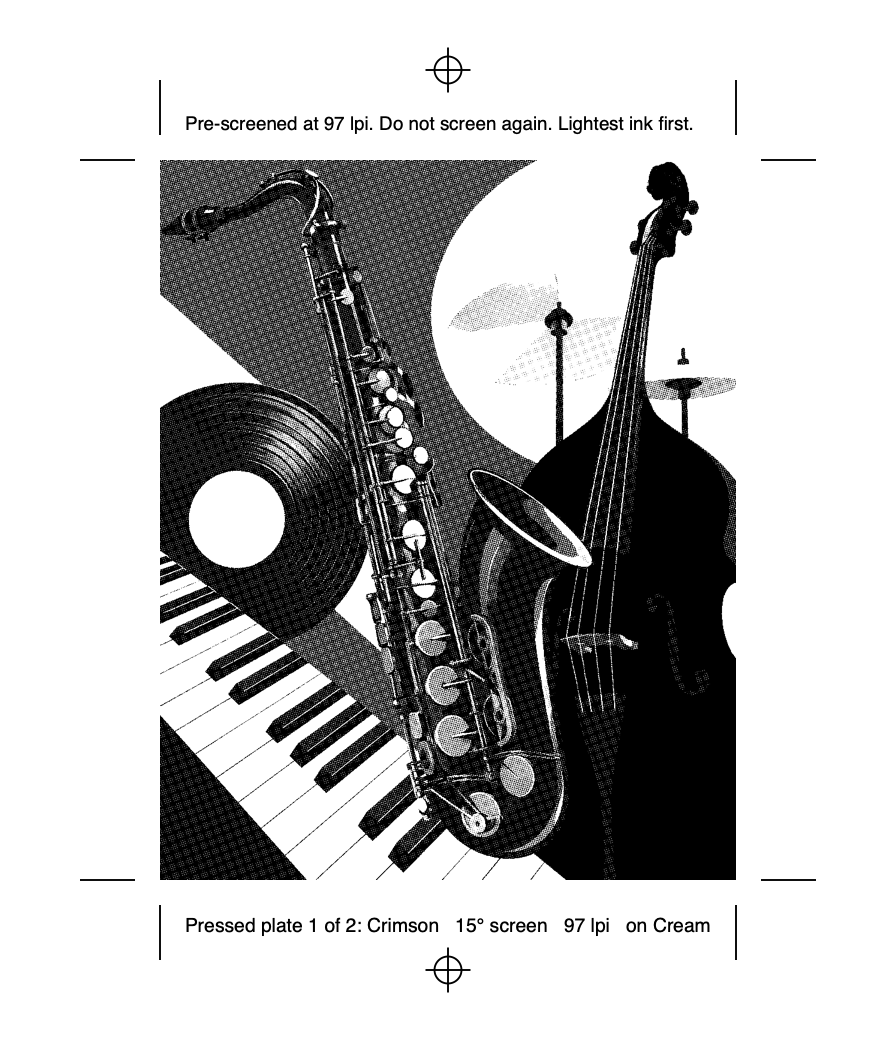
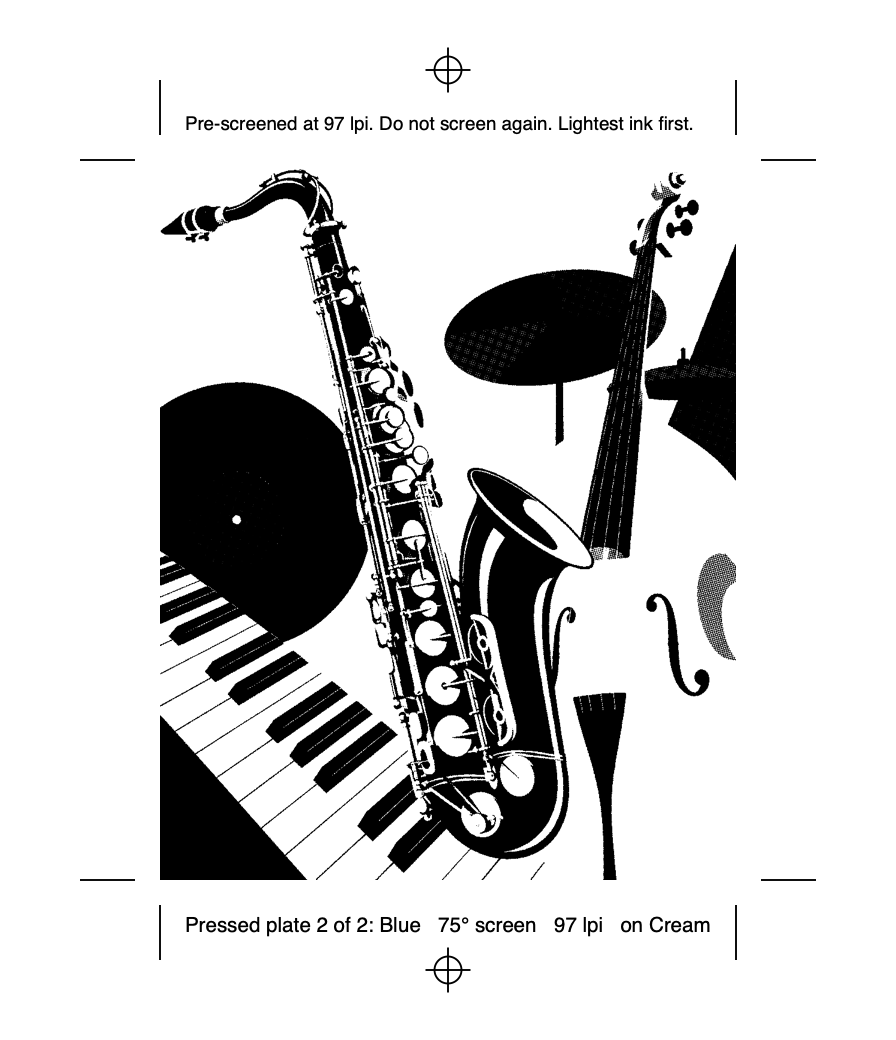
Two ink pages · Harbor preset · 300 dpi artwork
04 / Guide
Agree the print setup with your studio
Send the sample format and your composite reference before committing to a full run. The receiving studio decides whether this output fits its equipment and workflow.
The pages are already screened. Ask how the printer will handle them so a second screen is not applied accidentally. Changing the print scale also changes the size and spacing of the marks on paper.
- Size and scale
- Confirm the finished artwork size, page size, and whether the file will be printed at its original scale.
- Screening
- Confirm the accepted dot pattern, angle, and ruling, and how the studio handles already-screened raster artwork.
- Marks and margins
- Confirm that the fixed crop marks and registration crosses suit the process, including the required clear space and bleed.
- File and layout
- Confirm PDF acceptance, page order, and imposition: how the artwork will be arranged on the printing sheet.
- Inks, stock, and proof
- Agree available ink colors, paper, pass order, and a physical proof. Treat the composite as a visual reference.
05 / Guide
Proof the physical result
A screen preview helps you choose a direction, but real ink, paper, registration, and the printer’s process affect the physical result. Ask for a proof at the intended size before a larger edition.
Pressed supplies artwork and separate ink pages. Page layout, printer-specific preparation, imposition, and approval of the physical proof still belong in the print workflow you agree with your studio.